Friday, July 23, 2010

Button/Embellishment Storage

I have been trying to make my scrapbooking supplies more mobile... so that I can scrapbook someplace other than in my craft room. I have always used these divided containers for my button and embellishment storage.

But they drive me crazy!!! I stick them in my craft bag and all the buttons slide around and get mixed up. So, I put my thinking cap on and came up with a solution!!!
I cut a piece of chipboard the size of the lid. Then I cut a piece of batting the same size. Then I cut a piece of fabric about 1" larger around all sides. I then simply hot glued it together and glued it inside the lid of the box.
Ta da!!! It totally works!!! No more sliding around and mixing up of buttons. It is a tight squeeze to close it, but that's okay!!!
To hide the back side of the chipboard, I cut a piece of fabric and modpodged it on the front. Then I modpodged a border of scrapbook paper around the edge and stamped acrylic paint to label what was inside. I'm sure I could have decorated and embellished the outside a little better, but oh well!!! The important thing is that it is totally functional and solves the problem of everything getting mixed up inside!!!

-Anisa

Saturday, July 10, 2010

The Dark Divine

A friend of mine... Bree Despain (she used to live 2 houses down the street from me) has published an awesome book... The Dark Divine. She has a fun Teaser Trailer of her book that you can check out!!!


I know this has nothing to do with crafting... but sometimes its nice to just sit back and read a book:)

Wednesday, June 30, 2010

Anisa's Craft Room

I have been waiting until I get my craft room perfectly organized exactly how I want it to post pictures of it. Well, folks, it's never going to be exactly how I want it, so I think I'll just post it any way!!! I at least cleaned it up a little:)

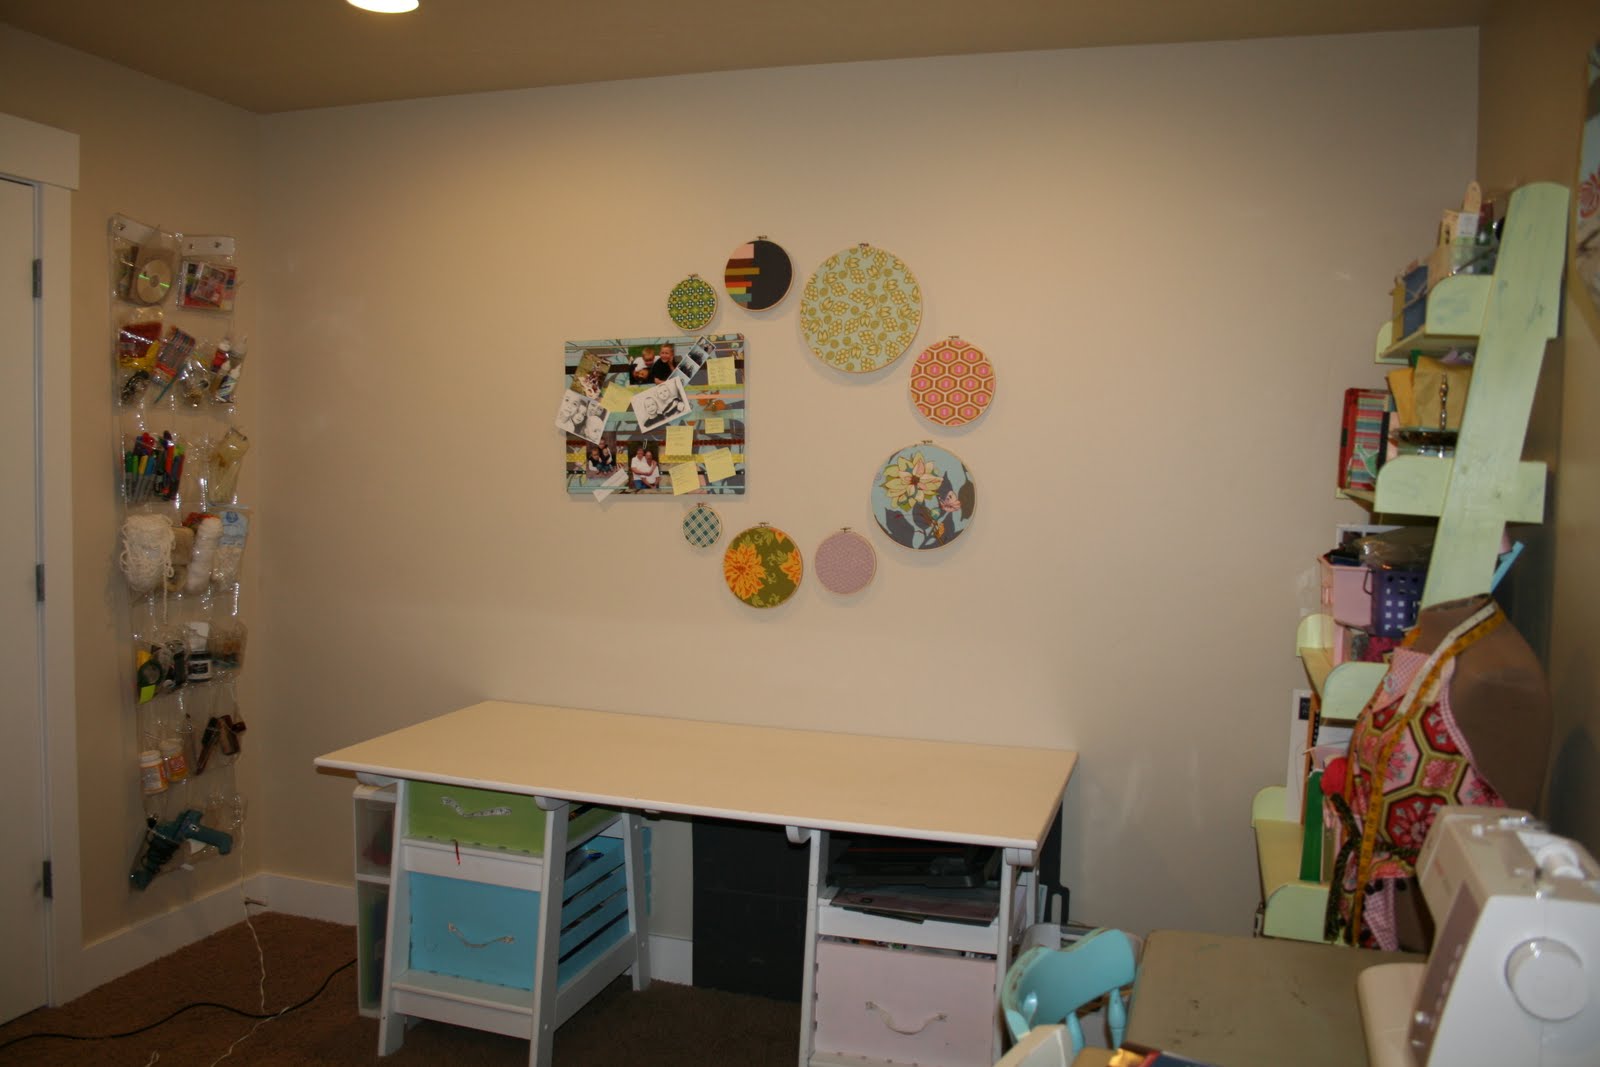
This side of the room is my scrapbooking side. I don't like to sit down when I scrapbook so I wanted something counter-top height. So I purchased 4 storage cubes from my local Robert's Crafts. (I'm sorry but I can't remember the brand of the storage cubes). You can buy them in several combinations. I wanted drawers on the bottom and the top to have cupboard doors... but I haven't ever gotten around to buying the doors. I bought a piece of wood for the top at Lowe's and painted it white. The paper stacker underneath was a yard sale purchase. I bought a bar stool without a back at a thrift store and painted it. That way I can push it out of the way most of the time. I have curtain rods hanging above the desk that I can use to display fun crafts or albums. My buttons are organized with a spice rack from Ikea. I got buckets from the dollar section of Target to hold my ribbon scraps.
This side of the room is mostly my sewing station. My pink cabinet holds my Cricut and supplies.
This side of the room I like to have mostly open. That way I have a place to work when I'm cutting out fabric or when I have a friend over to scrapbook. On the left you will notice a shoe hanger on the wall. You can purchase these for about $5 at Target or Walmart. I have these things all over my house... usually on the back of the door. In my pantry, it holds ziplocs bags, kool aid pouches, popcorn bags, etc.... great way to store stuff.
This side of the room is just mostly storage. I love this fun cabinet I bought at a yard sale. I got my small ironing board at Ikea so I can iron fabric projects or bent ribbon. And the shelves on the wall are a great place to display some of my craft projects.


I love my adorable craft room.... it's my place to decorate something girly:) Do you have a craft room... or crafting space? We'd love to see it! Email us pictures at twiddlethumbs@rocketmail.com


-Anisa


Saturday, June 26, 2010

Chipboard Album

As mentioned, I am in a crafting rut right now. So, I've kind of halted all projects until something comes up. However, with the school year coming to an end, I thought I would put together a mini album for my 4 year old's first year of preschool. I had purchased this chipboard album at a garage sale for $1 and I had an 8x8 paper pad of some fun paper that I wanted to use up. My little boy was out of town for a week staying with his cousin so I thought I'd get it done for him while he was gone.


I used the biggest Zig glue pen that they make to adhere the paper, photos and all embellishments to the album. I used Maya Mists, paint, rub-ons, etc. It turned out cute! He loves it and I'm glad he's home from his cousins. -Anisa

Tuesday, June 8, 2010

Frustrations.... please help?

So, folks, I was talking to Cami the other day about the craft blog (this is Anisa). I have been feeling realllllyyyy frustrated lately with a lot of the projects that I've been trying to do (see my post about sewing). I tried to make these velcro embellished flipflops.... and didn't like them because you can see the velcro.
I've also been trying to figure out how to somewhat duplicate these shirts for my boys that I saw in a catalog. My technique involves applique and freezer paper stencil. But when I started on the project, my applique wouldn't stick... I don't know if it's the knit (I seem to have issues with knit) or if I got the wrong Heat-n-Bond.
I'm feeling super frustrated with crafts right now. I don't know if it's just that I'm trying to make things just for the sake of trying them, or just for the sake of the blog or what my problem is. I'm super busy right now... I work 30 hours a week... but I can do my crafting during that time. And I can't think of anything that I want to do and what I do try doesn't turn out.


So, I was venting my frustrations on Cami and she said, "Should we archive the blog and quit?" If you can't tell, Angie has taken a break from the blog. And Cami wants to take a break from the blog. So, DO I TAKE A BREAK? Or do I take it over for myself? Do you guys like my crafts? Do you want me to keep going? Do you have any ideas of a cute fun craft that I could do while I'm working? I guess I could just scrapbook:)


Please leave a comment and let me know what you think? Do you like Twiddle Thumbs? Do you think I should keep crafting and posting? Let me know.

-Anisa

Wednesday, June 2, 2010

Staining Tip for Wood Crafts

Seriously, staining has always been such a pain to figure out. I prefer traditional stain, but it has such a strong odor that you have to let it sit in your garage for a few days before you can bring it in the house.

I think I have finally figured out the type of stain that I prefer. And I think I have finally figured out the best techniques. So, here are some tips and tricks.

First, the kind of stain that I buy is Minwax Water-based Wood Stain in Colonial Pine. This stain is somewhat difficult to find, but I have found it at Home Depot. It should be already mixed in that color. The color is important, because anything else will be too dark or too light, etc.

Now, how you stain depends on how distressed or "dirty" you want your craft to look. If you don't want it to look too dirty, then you will want to do a couple of coats of paint and then sand it lightly... that way the stain won't adhere to the wood as well. If you want it to look dirty, then only do one coat of paint and sand away.

This stain is premixed, but I have watered it down a little bit at times to make it go further as well as make it a little lighter.

I always wear gloves when I stain because although it is water-based, it will stick to your hands and is difficult to wash off.

I prefer to stain the sides of the wood first. Then I stain the back. Wipe any excess stain off with paper towels. Then, you will want to stain the front. Wipe the stain on with a foam brush and wipe it off with paper towels. If you don't want the stain to look too dirty, wipe it off quickly.

Always let the stain dry before hot gluing anything to make sure the glue will stick.

Wednesday, May 19, 2010

Front Porch Pillows


I live in Daybreak. It's a planned community with the idea of older style homes and front porches. We have a lot of fun colorful houses in our neighborhood. I have mixed feelings about my front porch. I would prefer to have it open so that I can sit out on my bench and watch my kids play in the street. However, I do love that it hides the scooters that are always parked on the front porch. Anyway, I put my cute yellow bench out on the front porch and I wanted to decorate it with some pillows. I have been wanting to make something with burlap... since it's so trendy right now. So, I thought I'd do something with pillows!

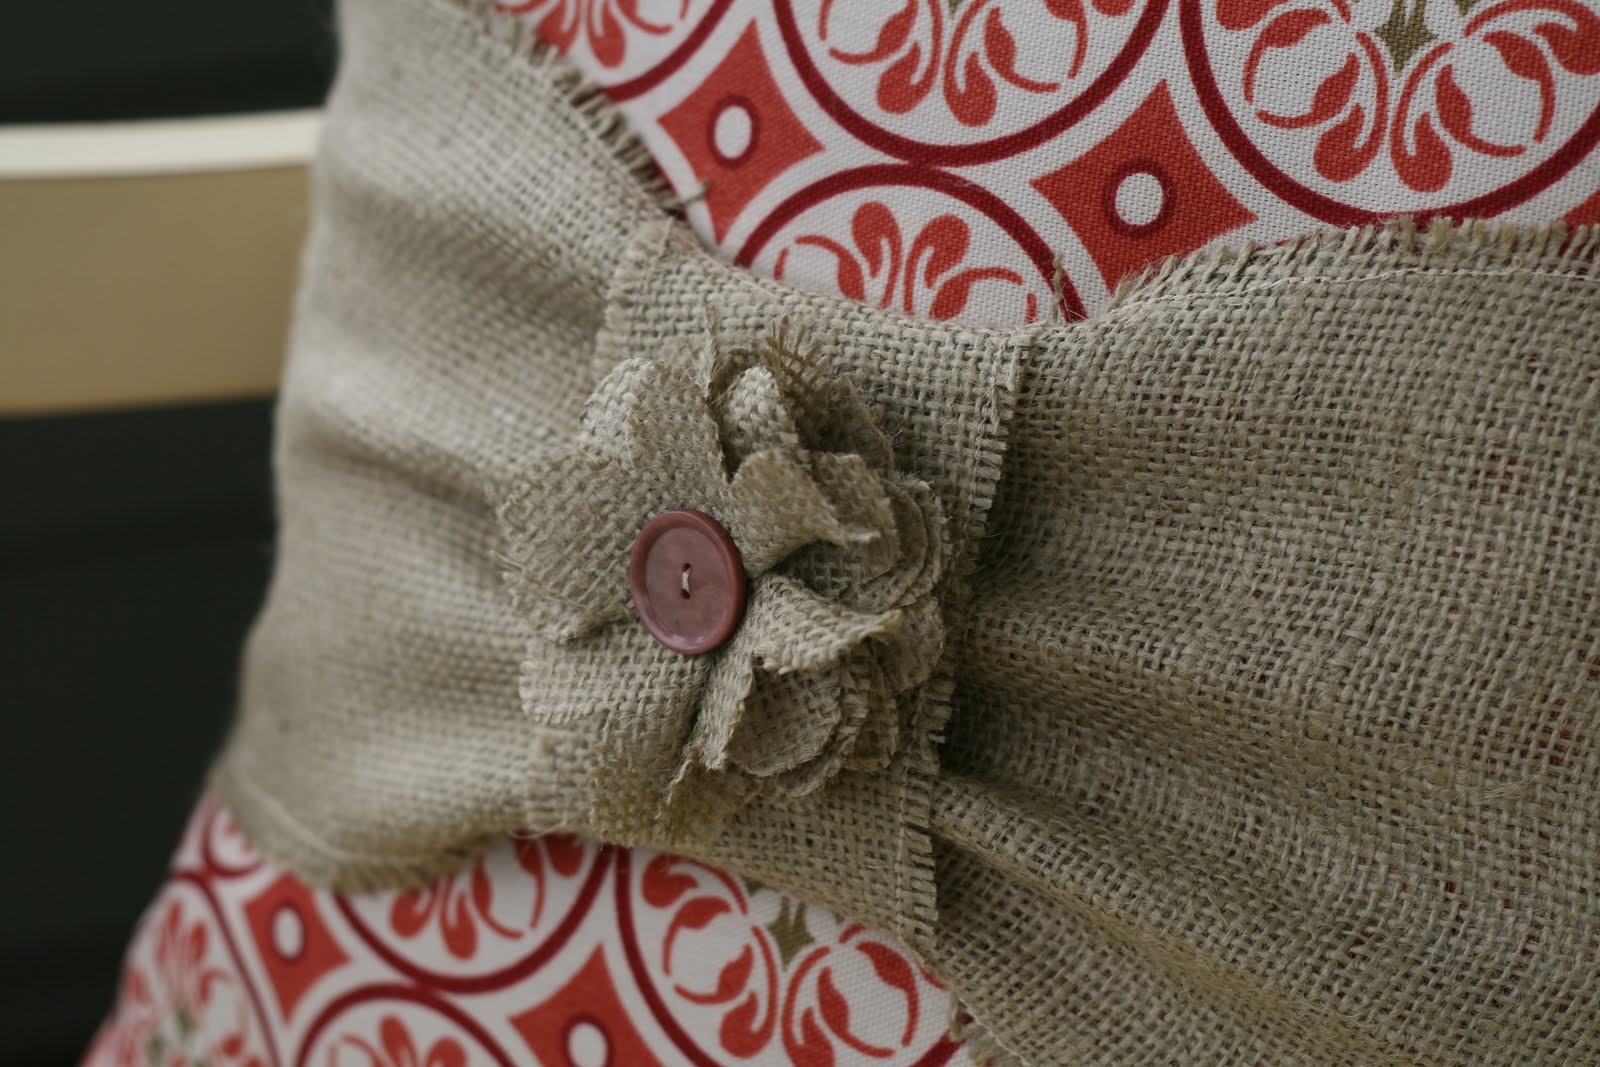
I started with this pillow. I bought outdoor fabric at Joann. I followed my own tutorial to make it a slip covered pillow. Then I just cut a strip of burlap and sewed a reinforced stitch around the edge so it wouldn't fray. I sewed it into a band and made another smaller band to cinch it up in the front. Then I attached a fabric (burlap) flower that I made using my tutorial here.


Then came the fun part. I really liked the pattern in the fabric. And I wanted to make a smaller coordinating pillow out of burlap. So, here is what I did.


  • I enlarged the pattern on my copy machine. I think it was about 8x8.

  • I traced the pattern onto freezer paper.

  • I used an exacto knife and small scissors to cut out the pattern. ( I got lazy and just cut out the part that repeated.
If you would like a more detailed tutorial on freezer paper stencils, you can find one here.

  • I ironed the freezer paper stencil onto the burlap and used a sponge brush to dab acrylic paint onto the burlap. (this is where the lazy part came in. I had to take the freezer paper off and turn it 4 times to get the repeating pattern. That seemed easier than cutting it out.)

  • I heat set the paint on with the iron.

  • I sewed the pillow using the same slip covered pillow tutorial.

Here's the funny part... I was worried about a pillow form getting wet on the porch and getting moldy, so I made my pillow form by stuffing a ziploc bag with polyfil!!!


It turned out totally cute!!!

Now my front porch has a cute set of matching pillows.

And I love the way they look on my yellow bench (scooters have been removed for the photo)
Maybe I don't hate sewing so much after all... I just hate sewing clothes!!!


-Anisa