Sunday, January 26, 2014

Rustic Jewelry Organizer {repurposed vintage garden rake}

I've started wearing jewelry lately... shocking for me, I know.  I don't do it often, but I do like to try to get dressed up occasionally.  School teachers are supposed to dress up to go to work, right?  But I like jeans... so, I figure if I wear a nice necklace, it will look like I tried.

Several months ago, I was asked by my ward Relief Society to teach a class on DIY organization projects.  I had a few ideas of my own, but I wanted to find more ideas on Pinterest.   I came across this gem ... not sure the original source.  
I Loved the idea... but wasn't sure if I had room to hang it in my kitchen any where near where my stove was.... it seemed silly to hang it way across the kitchen and have to go fetch a spatula to cook. 

Then it dawned on me... it could hold my necklaces in the bathroom!  So, I went to my dad and asked for an old rake.  He brought me home the perfect rake from the ranch that my mom had used to tidy up the dirt:)
Normally, I would probably spray paint it turquoise.  However, in my bathroom, I am going for a more rustic look... I have an old window with peeling paint, so this rusty rake goes with it perfect!

Oh, and notice, the necklaces are hanging in rainbow order... need orange:)

Monday, January 13, 2014

Cub Scout Promise {Free Printable}

My second son just turned 8.  It's time to start working on the Cub Scout Promise with him so that he can earn his Bobcat.  (Now, my understanding is that the Cub Scout program is going to do away with the Cub Scout Promise and just have the boys learn the Boy Scout Promise.  However, my understanding is that will not take effect until 2015).  So, until then, I am going to have him memorize the Cub Scout Promise.  In order to do that, I wanted a printable that I could hang on my fridge.  That means you get it too!


You can download it here.  You may notice there is a blank spot at the top.  That is where you will write your son's name.  I think it would be really cute to have him write it in his own handwriting.

Wednesday, January 8, 2014

Neon Laser Tag {Birthday Party}

My crazy little wild child turned 8!  He is my most spirited child... always wants to play... always wants to be outside.  He loves color and he really wanted a laser tag party.  So I decided to do a Neon Target theme for his party.

The invitations were designed in Photoshop Elements.  I found a target png online and used that for everything.
We began the party by handing out glow bracelets and necklaces to all of the kids.  Then, we loaded them in the car and had my hubby take them to Laser Mania (Our local laser tag place).
While they were gone, I had time to get the house all cleaned up, decorated and ready for the rest of the party.

They came home to a house that looked like this...
I bought a black light at Home Depot and made all of the decorations out of neon paper.  I also bought balloons at Walmart that had LED lights in them.

This is what it looked like with the lights on.  The center of the banner was designed in Photoshop Elements and then printed at Costco photo.  I then cut two layers of neon circles for the outside and strung it up with neon ribbon.  I had jars of glow sticks on the dresser along with the cake and the party favors.
I also made this cute target centerpiece.  The pinwheels are easy to make.   You just accordion fold the paper and hook it to itself.  Then you glue a circle in the center to hold it all together.  My hubby had just given me a Silhouette Cameo for Christmas, so I got to use that to cut out the targets in the middle.
I made a pizza shaped like a target for dinner.
And after dinner, they had cake...
and the birthday boy got to blow out his candles...
Here's a cheesy picture with the cake...
After cake and ice cream, he opened presents... and I sent the kids home with party favors...

Inside the favor boxes were neon gummy worms, a neon slinky and...
neon target charms that I made from Fizzy Pops.  The kit includes the bottle cap charms and the clear bubble stickers that you put over the top.  I designed the targets and got them printed on photo paper at Costco.

Saturday, January 4, 2014

I Like to Look for Rainbows {LDS Baptism}

This little snarky kid got baptized into The Church of Jesus Christ of Latter-day Saints today.  He's the middle child... of 3 boys... this kid gives me a run for my money.  And I love him to death.  I am so proud of him for making the decision to be baptized.
 Our primary has been singing the song "When I am Baptized" for the last few years.  It is my children's favorite song.  The lyrics to the first verse of the song are in my free printable below.  It talks about looking for rainbows after the rain and the concept of being clean again.  I love the idea of a rainbow party and didn't think I'd ever be able to do one because I have 3 boys.  But this boy loves color (he has bright purple shoes)(and had a neon birthday party) so he loved the idea of a rainbow themed baptism luncheon... and yes, my boys love my themed parties.
Here is his invitation. I created it in Photoshop Elements.  And I made it colorful.
The invitation said the baptism luncheon would be at our home.  I realized there would be around 40 people and decided that was too many for my little home. So we decided to have it in the primary room of our church.  
I set up the tables with white table cloths with a 36" square of a color fabric in the middle.  in the middle of the fabric was a piece of scrapbook paper with rainbows printed on it.  
For centerpieces I used glass jars and vases that I had around my house.  I added ribbon, washi tape and baker's twine to embellish the jars.  I would have liked real flowers, but I couldn't find any of the right colors at Costco and I didn't want to spend a fortune.   I had a table for each color of the rainbow.    
To decorate the serving table I hung streamers in rainbow order over the chalk board.  I hung one tissue paper "cloud" with raindrops. I would have liked to have more of those, but there really wasn't any where to hang them. 
 I also laid streamers along the middle of the table.
 I got super cute colorful polka dot napkins at Walmart and forks in every color.
 I found this huge cylinder glass bowl at our local Deseret Industries for $2.    I just had to use it!  I layered fruit in rainbow order...  I love that I was excited about my cheap $2 bowl, but spent almost $30 filling the bowl with fruit.
 And you gotta love my leaning rainbow cake...

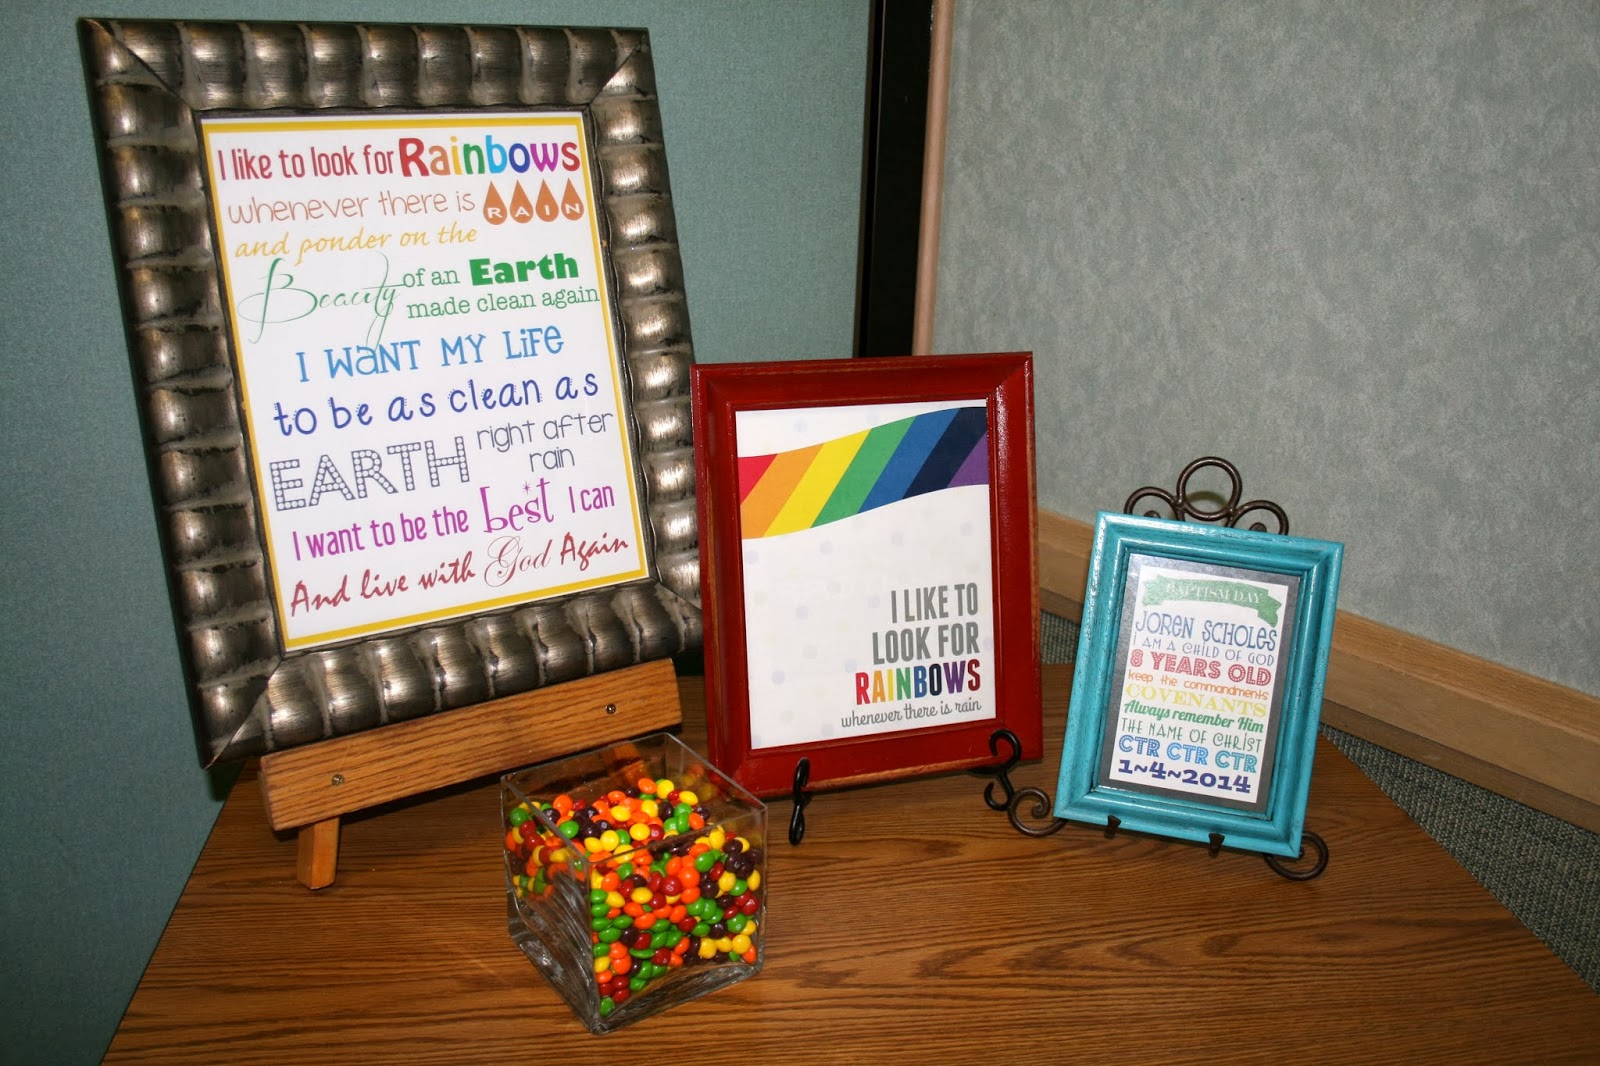
 Off to the side, I had a table with some printables.   
The small printable is a free download that you can customize in Photoshop from Oopsey Daisy.  I customized it and also changed the colors to be rainbow.
The middle printable is a free printable from LDS Printables.  I LOVE it... I love the way it looks.  But I also wanted a poster with the full lyrics to the song.
The large printable was made by yours truly:)    If you would like to download it, you can get it here.