Friday, May 18, 2012

Science Party

My little scientist turned 8 this month.  I have to say, his birthday party was a little easier than some of the other parties I've planned.  I am a science teacher, so I have access to some science equipment that made my life a little easier... and saved me some money.  
 To start, I dressed him up in my lab coat and accessorized him with goggles and a beaker.  To create his invitation, I put his photo over a chevron background layer in photoshop elements, then erased the background from his photo.... easy peasy...  Then I used the text from this invitation to create my invitation.
 The mini test tubes are actually plastic flower vases that are used when you purchase just a single rose... I bought a box of them at a yard sale for $1.  I filled them with Nerds and tied them on with baker's twine... I love that stuff!!!
 I found my bright happy wrapping paper at the dollar store.  I printed this fun clipart to make tags and tied the boxes with baker's twine!!!
When the kids walked up to the house, they found a shirt with their name on it... resembling the periodic table.
To make these, I just used Hanes T-shirt maker iron-ons and my computer.  They were super easy.  I got my t-shirts on sale at Michael's for just $2 each.  I know that these t-shirts shrink so I bought them really large.  Rumor is that the kids loved them because 3 of them wore them to school the next day.
They also picked up goggles in a basket at the door.  I bought the goggles at the Dollar Tree.  Some of them broke before the kids even put them on... sometimes that's what you get form the dollar store.

They had to "scan to enter" the house.  I love chevron print right now and used that for the border paper.  I painted my son's hand and stamped that on the paper.  And I really love washi tapes right now!  So, even though there is scotch tape rolled up on the back, I still used the washi tape to adhere it to the door as well.
I know that all of the kids don't arrive at the same time, so I had this table set up with microscopes and slides so that the kids could look at different specimens under the microscope while they waited for everyone to get there.

After everyone got there, we headed through the back door to the science lab.  I had a few sciency things set up on the table...


And another table set up with baskets with all of my supplies.

We made balloons blow up by putting vinegar in the bottle and baking soda in the balloon.
We talked about surface tension with milk and food coloring and dish soap.

We built molecules out of tooth picks and marshmallows.  The kids really loved that!
We made slime out of glue and borax.
We made lava lamps (those didn't work too well).
We came in the house and learned about static electricity by rubbing their balloons on their hair and trying to pick up pieces of crepe paper.

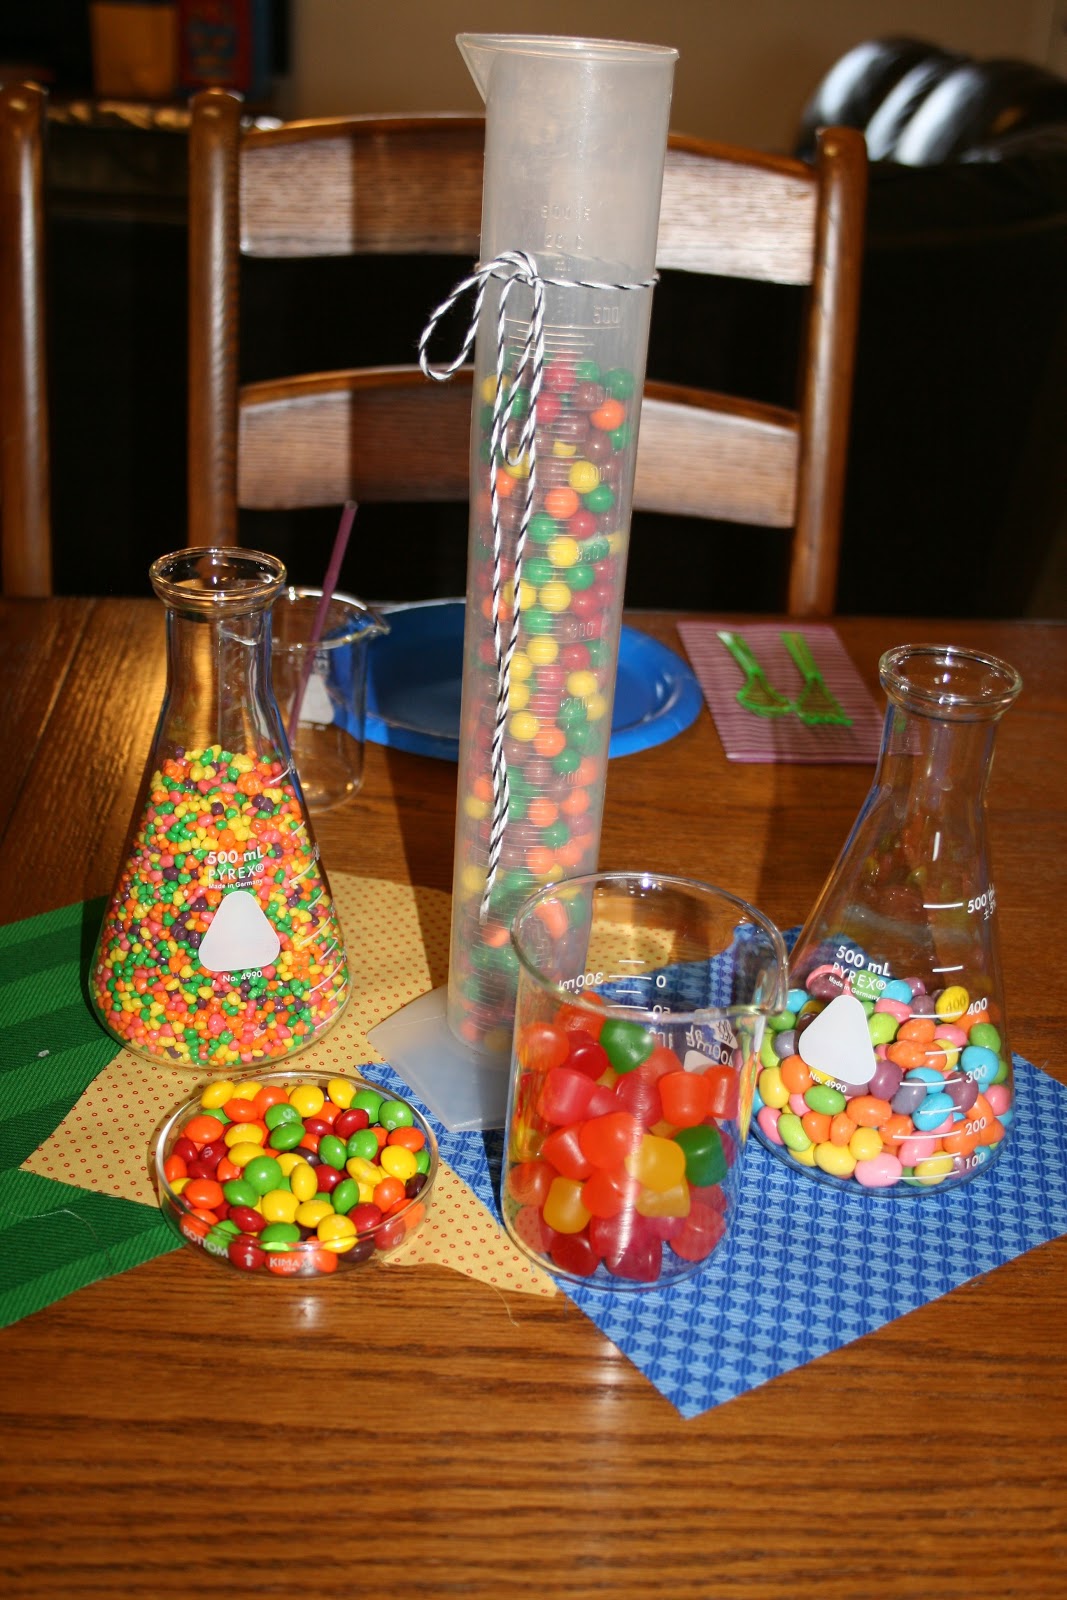
And for the decor... I used scraps of fabric left over from Brenner's science bedspread as a table runner down the table.  Then I put the favors, cake, kool-aid with dry ice, and science beakers and flasks full of candy.
My party favor test tubes were found at a yard sale as well. I filled them with nerds and tied a tag on with baker's twine.

The jars of candy were super yummy!
 The kids, of course, got the biggest kick out of the kool-aid with dry ice.

The blog Mrs. Mouthy is where I got the idea for the cake and most of my ideas for the party.  If you go to my Party Pinterest Board, you can find links to most of the other blogs that I used for the party.
Party land was pretty creative with the balloons.  I wanted them to look like atoms... they kind of don't, but they are still fun and unique.

I made a banner that said Happy Birthday Brenner.  I also had one hanging outside that said Science Lab, but the wind was always blowing too much to take a picture of it:(
Okay, so that sad part was that I completely forgot about my jello petri dishes until the party was over:(

                             
And I had to get a group pic of the boys!
I'm tired of the super long blog post... so, if I missed any details, I'm sorry.

Sunday, May 13, 2012

Graduation Gift

It's that time of year.... Graduation!!!  Last week I had a couple of family members graduate from college. In a couple of weeks I have a family member graduating from High School.  Not to mention the most important... Preschool and Kindergarten graduation!

For the older bunch (high school and college) I found this idea at The Seasonal Home.  I didn't want to spend a lot of money... and you're really supposed to just give grads money... but since I had three, I thought it would be kind of lame to just give them a card with a few bucks in it.  So, my thoughts were, if the gift is creative, then it's okay if I'm cheap:)
I bought my umbrella at the $ Tree.  (I really wish the dollar store had cuter umbrellas). I tried to paper clip the money to the spokes of the umbrella but that didn't work.  So I just taped the money to the spokes (I guess those grads will have to earn their money taking the tape off the bills).  The tutorial I found online had them hanging from ribbon, I guess that would work too.
I found this cute tag at Oh the Lovely Things.  I have decided that there are so very many cute free printables out there that its quite a waste of my time to make my own:)  So, I just threw this into photoshop so I could add my own text.

Happy Graduation everyone!!!

Wednesday, May 9, 2012

Teacher Appreciation Week

It's teacher appreciation this week!  I find it to be somewhat ironic that I am a teacher.... yet I am doing all of these fun things for my kids teachers... maybe I appreciate what they do so much because I truly know what they do!
Here's the thing about Pinterest.  Sometimes, I just repin something without re-visiting the original pin site.    So, I bought my cups, made my cute little signs for the top, bought my drink packets, ya know... the usual.  Well, just now, when I was typing up this post I thought I would visit the site so I could give the original pinner the credit she deserves... and I found that it also has a free printable!!!  That would have saved me some time... so, always visit the site with the original pin!  Thank you  Lisa Storms for the cute free printable and idea.


I made these for the teachers of my boys in Preschool and Kindergarten.
 I have an aide that works with me at school so I also made one for her.

Teacher Appreciation... take 2
I volunteered to decorate a door for teacher appreciation.  The door I was assigned was my son's 2nd grade teacher.  I happen to know his teacher a little better and I know her daughter.  So, I asked her daughter what she liked and she told me Home Depot... and working on projects.  I love Home Depot too, so I thought it would be fun to go with the whole tool, building theme.

I found clipart online and used my best artistic talent to make a paper tool box.  Then I enlarged the various clipart and cut and traced the clipart on patterned paper to make the tools.  For the letters I used my trusty cricut.
To go with the tool theme, I spray painted an old tool box I had bought at a yard sale.   I printed off paper tools from the internet and took them into the school to have the kids color them and write messages.  I had parents donate money to give her a gift card to Home Depot.  Then, I stuck some plants in there for filler.  In the back is her favorite candy bar... a symphony with toffee and almonds!
I truly appreciate all of my kids' teachers and all of the work and effort they put into teaching my children!!!

Tuesday, April 24, 2012

Primary Bulletin Board

If I thought my life was busy before, I was wrong.  I just recently was called to be the first counselor in the Primary Presidency in the Church of Jesus Christ of Latter Day Saints.   I love working with the kids in our church.  It's just a lot of work!

I just thought I'd share the cute bulletin board that I made.   I put the theme for the month of April across the top.  Then I put the scripture on the bottom.  Then I put pictures of Christ being an example of choosing the right.  In a circle above the picture, I put the words that show his example.   I love that it's a giant scrapbook page!  I had never thought of making my pictures into a bunting... but I think it would be a really cute idea... especially if I had a lot of pictures that I could print really little.

Sunday, April 8, 2012

Map Mania

I have always loved maps... when my hubby and I purchased our first home, we painted our office light blue. I brought my overhead projector home from school and traced a map of the world on the wall then painted it with a tiny paint brush. It was a great summer project for me when I was teaching and didn't have any kids and had plenty of extra time on my hands.... oh those days seem so far away.


Anyway, when I started teaching again, I thought I would decorate my room with globes and maps. (part of the fun of teaching is decorating my classroom). I kept pinning fun projects with maps. My sister in law's sister saw that I was pinning them and gave me a whole box of old maps that she had at her school that someone was throwing away (thanks Kristy).

Once I got my box of maps, I got to work... and I put my aide to work (thanks Rebecca). Our first project was this jar of pinwheels. I got the idea from Elizabeth Street on Etsy. This adorable shop has a lot of cute map crafts. I used this tutorial from Style me Pretty. It even comes with a free template. We shrank and enlarged the template to different sizes so we would have a little variety. Then we put buttons in the middle. I love the way it turned out and it's a super cute addition to my shelf. This picture does not do it justice.
All year I have been collecting large frames at yard sales and painting them different colors. Some I put chicken wire in and some I left empty. But then I saw this idea of a different type of pinwheel on Style me Pretty as well. I loved it and had to make some! We (my aide, Rebecca and I) made them of all different sizes. Rebecca came up with the idea of shaping the edges... which I love! We just put a large circle of patterned paper in the middle. It has totally dressed up the frames and I love it!
Here's a view of my whole wall of frames hanging from the ceiling...
I'm loving the way my room is turning out:) I'm hoping to add a few more projects to my shelves... maybe some fun lamp shades... who knows?

Sunday, March 25, 2012

Ninja Birthday Party


I must be in the mood to blog...it's been a long time. I was going through pictures and realized that I had never blogged about my son's ninja birthday party.

First, I must say that I was not planning on doing a friend birthday party for him. We were going to Las Vegas to take my nephew to the airport so we were just going to go to Circus Circus for his birthday. But then the mommy guilt started... he already has his birthday so close to Christmas (Jan. 3)... he'd be the only kid that didn't get a birthday party... so, I threw one together at the last minute.

First, I don't like to buy anything. I try to make everything with stuff I have on hand. I found an idea for an invitation here and created my own using free clipart I found online.
I wrapped all of his presents in red wrapping paper with black ribbon. I printed tags to match.
I found a simple clipart for a chinese star and traced that to make his banner. I found a chinese looking font and made red circles for the center.
I really wanted to have his treat bags be chinese take out boxes, but they were just too expensive. Instead, I just bought black paper sacks and stapled a circle with a ninja in the middle as a cute tag. I put fortune cookies, little plastic ninjas and little plastic ninja swords inside the treat bags. I never buy the expensive party plates... I just buy dishes from the dollar store in the color scheme I'm using.
I went a little more simple on his cake. I just made a round cake and covered it with white fondant. I made a karate belt out of black fondant and tied that around the cake. Then, I just went through Joren's toys and found a plastic ninja knife and star and stuck those in the cake... pretty easy.
I had all the kids dress in all black for the party. I made a head band for each kid out of black felt I had laying around. I printed a ninja star in the middle of a red circle on iron on stuff and ironed that on white felt. I cut out the circle and glued that on the black felt headbands.

For the games we threw ninja stars... I cut ninja stars out of chipboard and spray painted them silver. They had to throw the ninja stars in bowls and got points for how many they got in.
We had a marshmallow relay with chopsticks. They had to pick up the marshmallows with the chopsticks and carry them to another bowl... It was kind of hard... I should have used bigger marshmallows.
If you're planning a party at the last minute, a pinata isn't a super good idea. You need several days to let the pinata dry between layers. Our pinata only ended up with one thin layer... so instead of letting them use a bat, we made them use a ninja sword... that way it wouldn't break as easily.

It actually turned out pretty fun that way.
I'd say for a spur of the moment ninja party, we ended up having a lot of fun!!!

Friday, March 23, 2012

Girls Camp Flag

I have been so unbelievably busy lately it's not even funny... Although I don't have time to blog, I have been busy crafting... I thought I would do a quick post of the flag I made for girls' camp. The young women theme for the year is "Arise and Shine Forth that thy Light may be a Standard to the Nations" so for camp our stake is having each ward be a country. Our country is Finland and I was volunteered to make the flag. I did a lot of research on Finland and so this is what I came up with.

I used the basic shape of the Finland flag which is a white background with a blue cross going through it.
I made the blue cross out of water fabric because Finland has almost 200,000 lakes. I did a sun and moon because Finland is light all day in the summer and dark all day in the winter. I put an angry bird on the flag because the company, Rovio, that developed Angry Birds is from Finland. I put a reindeer because Father Christmas is thought to live in Lapland Finland... And because they eat reindeer there. I used the word Sisu because it is a word that is used to describe the Finnish people... It means that they are committed to what they do. And lastly, I made the flag out if a towel because going to a sauna is a big pass time in Finland. I thought it would be more fun to hang it as a bunting instead of from a pole!

This was a fun project with a LOT of appliqué. It was VERY time consuming, but I really enjoyed doing it!