Tuesday, July 31, 2012

Baby "Shower"

My two youngest sisters-in-law are having babies!!!  Both in September.  One is having a boy and one is having a girl.  I'm super excited to have babies in the family!  And I'm having fun making baby gifts and planning showers!
Shower #1 for baby girl was this past weekend.  I LOVED this idea of a "Shower" themed baby shower.  I pretty much copied what she did, but added a few minor details.... and took out a few.
 Here are my invitations... pictures don't do them justice.  The cloud is a shimmery paper.
 Here is kind of an overall picture of the table set-up.  We had it outside in my sister-in-law's back yard.
 We hung rain cloud (tissue paper pom poms) from the arbor above her patio.
 This umbrella is a vintage umbrella that my grandma had.... It was actually the reason I wanted to do the "shower" themed shower.  The original ruffle was white and was quite dingy.  So, I unpicked the ruffle and attached a new ruffle.  My sister-in-law had made these pink coffee filter poofs for another shower, so we stuck them in the umbrella.
 We made watering can centerpieces and used them to mark the path into the back yard.

I loved this idea of centerpieces out of rain boots.  I borrowed boots from some of my friends that have girls.  They turned out so adorable!!!  We punched the flowers out of solid and patterned papers and had them in varying sizes.  We put buttons in the center.  Then we hot glued them back to back onto the wooden skewers.
 This is what the table looked like when it was the food table.  The Partyland near my home sells sixlets candy in solid super fun colors. I had my mother-in-law put those in cute glass containers.  We had a pasta salad and rolls from Texas Roadhouse:)
I couldn't resist the cute striped straws.  They are so adorable.  I would have had us drink out of mason jars, but we were travelling almost 300 miles for this shower and I didn't want to haul the mason jars in the car.
 Here is the dessert table.  My cute niece made oreo truffles covered in pink candy melts... yummy:)

I made the cupcakes.  I used the same shimmery paper to make the clouds for the cupcakes.  I found the sprinkles and wrappers at Michaels.  ( However I just ordered some super cute striped and animal print cupcake wrappers from Pick Your Plum this morning)
I used this White Texas Sheet Cake recipe for the cupcakes and they were super moist and super delicious!
I think the shower turned out great and we are super excited for baby Jennika to get here:)

Saturday, July 21, 2012

4th of July Float

Sometimes I really don't know why I do these things.... why do I spend hours, days creating a float for a 5 minute parade in Kanarraville, UT?  
My cousin, Summer, and I thought it would be fun to do a float for the 4th of July.  Last year we just had the kids decorate their bikes.  This year, we wanted to win!
 Our theme was "Our Founding Fathers are the real Super Heroes."    We used the Cricut to cut out all of the lettering and stars.
 My husband built a frame out of PVC pipe and we used a vinyl table cloth from Walmart for the background.
 I didn't want to do too many dollar store decorations, but, hey, they are cheap.  I thought I'd dress up this bunting a little with tulle tied between.
 These pinwheels were really fun to make.  I got the idea from Style me Pretty.  I used 1.5 sheets of 8.5x11 card stock.  I cut them in half lengthwise and glued 3 pieces together.  Then I accordian folded them and turned them into a circle.  I hot glued the circle in the center, then glued them to wooded dowels.

 The founding fathers pics were super easy.  I used my gathering foot on my sewing machine to gather the crepe paper.  Then I just glued it to the back.   I printed the pics from Wikipedia.  I just used a big X of duct tape to attach them to the trailer and I loved the way it turned out.
 These "bottle rockets" were made from old wrapping paper rolls.  We covered them with wrapping paper.  Then we made paper cones to go on top.  We taped shiny stuff to the bottom and taped them to a wooden dowel.
The kids all dressed up like super heroes... get it???

So, they gave prizes for the best 5... in no particular order!  I say we won:)

Friday, July 20, 2012

Cherry Chocolate Upside Down Cake

I really don't want this to turn into a recipe blog, but I loved this cake soooo much that I had to share it with the world. 

I went to girls camp last week and we had a Cherry Chocolate Upside Down cake in the dutch oven.  It was sooo good that we sent someone up the mountain to get cell phone reception so that we could call and have someone bring up the ingredients to make it again.

So, after I got home, I decided to make it in the slow cooker.  I loved it just as much, if not MORE.  So, here is my improvised slower cooker recipe.  I used a 3 qt. slow cooker, but you could probably double the recipe and use a larger slow cooker.

Cherry Chocolate Upside Down Slow Cooker Cake

Ingredients:
1 chocolate cake mix
1 can cherry pie filling
1/2 plus 1/3 cup apple sauce
(I know it's a weird amount, but that's what it turned out when I halved the recipe.  You could probably just do a full cup?)
2 eggs
3 oz. vanilla pudding (mixed according to package directions)
8 oz. cool whip

Directions:
Line slow cooker with a liner.  (this makes it easier to clean up, but also easier to get the cake out and dump it upside down).  Spray the liner with Pam.  Pour in can of cherry pie filling.  Mix cake mix with apple sauce and eggs.  Pour cake mix over cherry pie filling.  Cook in slow cooker on low for 2.5-3 hours.  Let rest for at least 15 minutes.  Put serving tray over slow cooker and flip cake upside down.  Peel off liner.  Spread vanilla pudding over cake and top with whipped topping.
It is a oooey gooey cake.  So yummy.  Cut and serve and scoop up all of the yummy gooeyness and put it back on top of the individual slices!  We loved this cake served warm... but it is also delicious served cold as left-overs.
I think I'm ready to experiment with other flavors of cake mixes and pie fillings and pudding:)

Monday, June 25, 2012

Summer Salads

I'm not usually one to post food or recipes... and I'm not one to promote a specific product.  But when you find something you really like, I think you should share it with others.

A few years ago, my friend Jacinda was a consultant for Tastefully Simple.  I bought a few things from her, but the one that I love and can't live without is the Spinach and Herb Dip Mix.  To tell you the honest truth, I don't remember the last time I made the dip... I usually use the seasoning for other things.

My two favorite summer salads are this Macaroni Salad and Cucumber Salad.
 So, for the recipes... I'm not a measuring kind of person when it comes to salads.  So, here's what I do....
Macaroni Salad
Cook a package of macaroni according to package directions.
Hard boil a couple of eggs.  Dice them and toss them in the bowl.
Chop up a couple of strands of celery and toss them in the bowl.
Peel and dice a few cucumbers and toss them in the bowl.
Dice a couple of tomatoes and toss them in the bowl.
Throw in a few large scoops of Mayo.
Season with salt and pepper.
Season with Tastefully Simples, Spinach and Herb dip mix... I probably put in at least a tablespoon, maybe two.
Stir it all together and refrigerate.  Taste it and see if it needs more mayo, more salt and pepper, more spinach and herb seasoning... maybe someday I should measure things and write it down so I can get a better recipe:)
Cucumber Salad
Peel and slice about 6-8 cucumbers.
Slice up a red onion (I usually don't eat the onions, I like them mostly for the flavor).
Squeeze a little lemon juice, a little olive oil, a little rice vinegar (or really any kind of vinegar), a little salt and a lot of Tastefully Simple Spinach and Herb Dip Mix Seasoning.  (I'm guessing I use about a tablespoon of the seasoning as well as the lemon, oil and vinegar, but I'm not sure).  Toss all of the ingredients and refrigerate for a few hours.
I'm telling you, I love this stuff.  The other thing I use the Spinach and Herb Dip mix for is Deviled eggs.    I just mix the egg yolk with a little mayo, salt, pepper, garlic powder and the spinach and herb dip.... I also put it in egg salad sandwiches... I really love the stuff.

The seasoning is a little expensive.  I tried seeing if I could figure out how to make my own buying all of the other spices, but it would be just as expensive to buy them all separate.... and I couldn't find spinach flakes at the store anywhere, so needless to say, when I ran out, I bought a few bottles on ebay:)

Friday, June 22, 2012

My Son's Baptism

At the beginning of this month, my son became a member of the
I  wanted this day to be very special and spiritual.  I wanted to keep it simple.  I made the invitation in photoshop using my favorite chevron papers.


I also used photoshop to make this print for him.  I got the idea from Laura Bunker Photography and I took my own pictures.
Oopsey Daisy Blog had this great subway art that you could open in Photoshop and edit to put your own name and date.  I also changed the color to green.

I loved this printable from 'Lil Luna, so I printed about 7 of them in black and green and hung a banner of them across the food table.
The baptism got over at 10:45ish in the morning, so we had a brunch of quiche, sweet breads, donut holes, mini cinnamon rolls, bagles with cream cheese and fruit.  Brenner felt really special on his special day and I hope that he really felt the spirit.

(On a side note, because I'm in the primary presidency in my ward, I was given the assignment to speak at Brenner's baptism.  I loved this talk about the Holy Ghost being like a stoplight, so I used it for my talk).

Saturday, June 9, 2012

Cut-off Jeans

We went on a family camping trip over Memorial Weekend.  As we were packing to leave, we decided to steal my niece for a few days (her parents were going to be coming to our house on Friday, so why not?)  The only problem, was that she had only taken pants and long-sleeved clothes with her on our camping trip and she wouldn't have any shorts or t-shirts to wear in sunny St. George.  We knew we'd have to buy her some clothes, but her mom told me that I could cut off one of her pair of jeans that was too short.
I was just going to cut them off and call it good, but I thought it would be fun to give them the rolled up look.  Then, I was thinking I would embellish with ribbon or lace or something.  But when I looked at the back of the pants (I should have taken the picture before she got them dirty), I thought, why not try to duplicate the pockets (as close as I can).  
I cut the jeans with my pinking shears so they wouldn't fray.  Then I turned the hem over just one time... 2 times would have been too thick for my poor sewing machine.  Then I sewed the navy blue rick rack over the unfinished edge.  Lastly, I hand-stitched the white embroidery floss to match the pants.

Here's a close-up!  My stitching isn't perfectly straight by any means, but I think it gives it character:)

They totally look cute and now she has a new pair of shorts!

Thursday, June 7, 2012

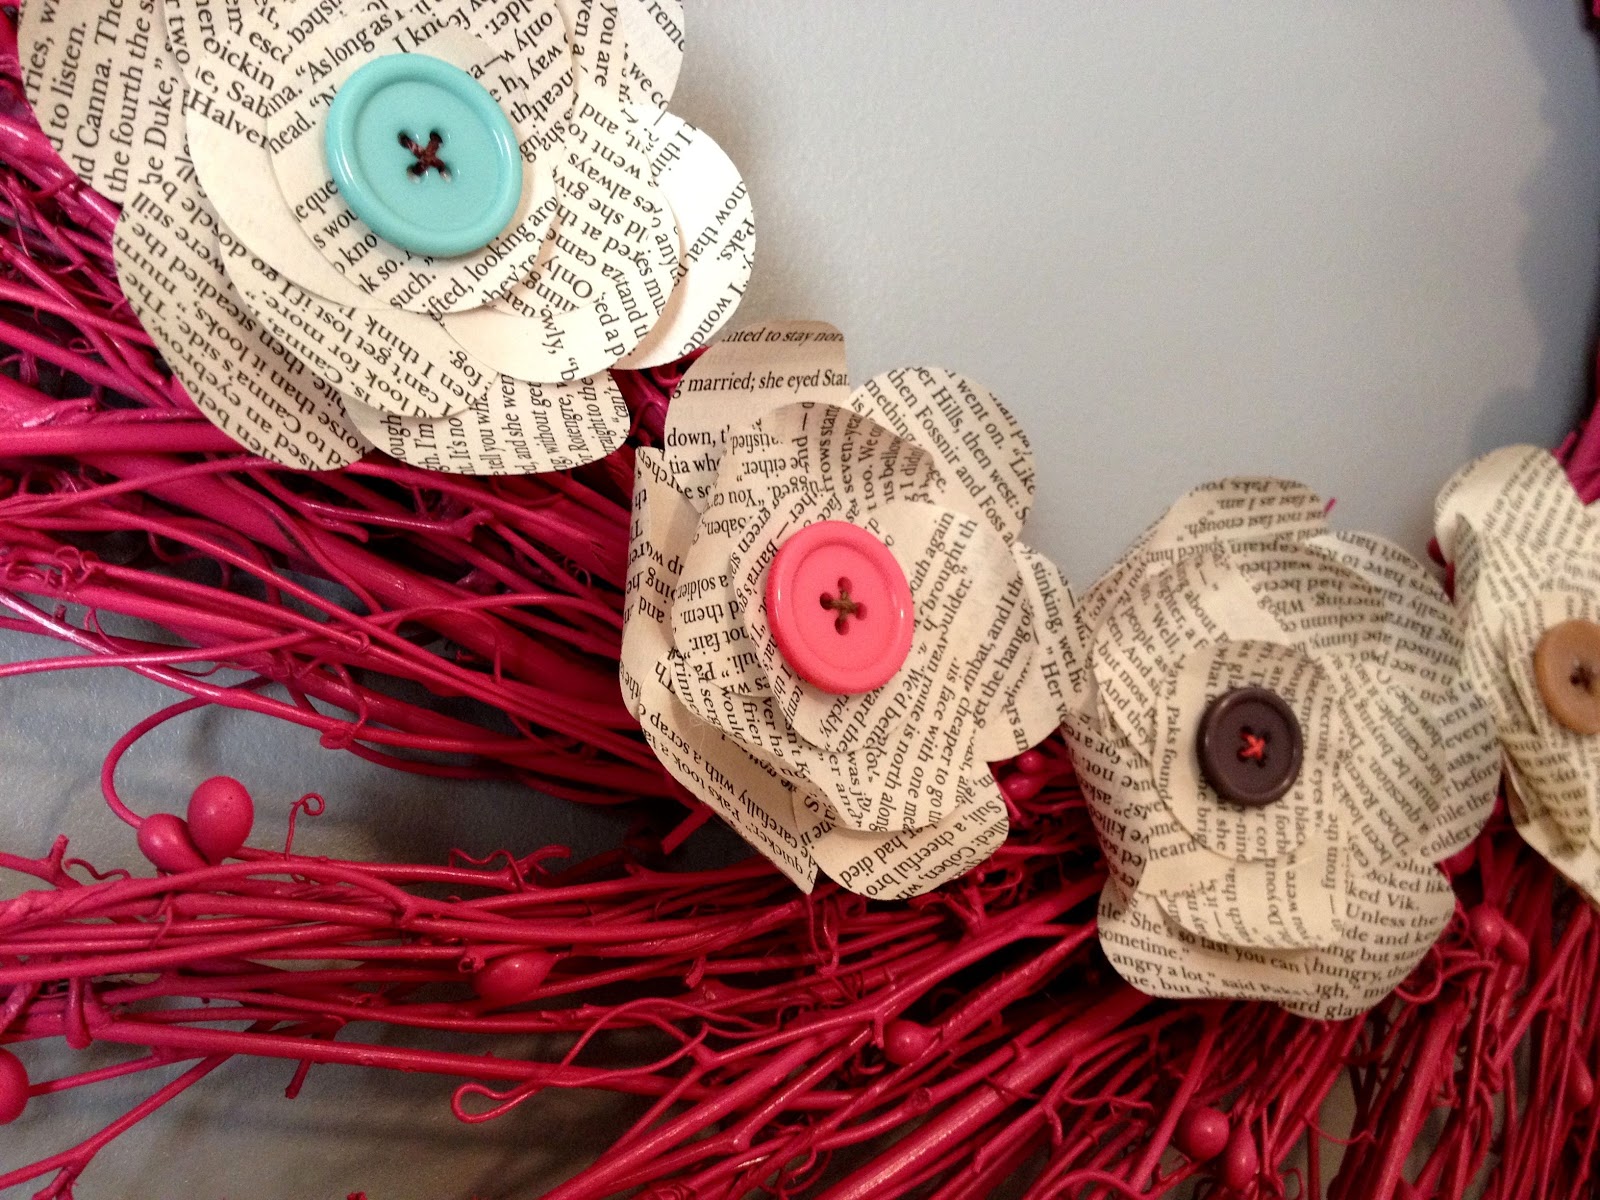
Berry Wreath Make-over

Do you remember these berry wreaths that were super popular a few years ago?  I'm not sure that they are going out of style just yet, but I thought I'd do a fun BRIGHT make-over with mine!

 First I sprayed primer on the wreath.  Then I spray painted it PINK!  (Just so you know, it takes a LOT of paint and primer... probably a whole can of spray paint to cover all of the branches!)
 Then I made paper flowers to go around the wreath.  I used this tutorial from Under the Table and Dreaming.  I used buttons in the center to add even more color.
Here's the final product!!!  I'm in love:)